Showing posts with label Projects. Show all posts

Sunday, January 21, 2018

Project Complete: Windowpane Plaid Basic Gown


I'm not presenting this one as a typical "project log" like I normally do because for the most part this project was just for fun, as well as for a chance to work with plaid. Late in 2016, I found this wool at Dorr Mill Store (doesn't look to be currently available), and thought it was really cool. (There's some evidence that grid-like plaids were in use in the 14th century.) The cloth sat in my stash for a year, just waiting for me to get to it. At the end of my Doppelgänger Challenge, I was looking for something to do that would give me a break from dedicated early 15th Century, and this wool practically shouted at me.

Sunday, October 1, 2017

Project Complete: Apprenticeship

Thank you to everyone for the outpouring of support and love on my last post. I'm so grateful to be a part of such an amazing community!

So I figured I'd start this post where I left off on the last one. By that point, I had finished my new chemise, and finished refitting the gray wool dress.

I had washed and line-dried the blue herringbone wool for a new cote to wear during my vigil and into court. I used the two larger pattern pieces of my chemise to cut the wool as a symmetrical dress. I had intended on doing a front lacing, but when I got everything sewn together to try it on, I really liked the plain front look, and decided not to mess with a good thing. (Good thing too, I would not have had enough time to sew all the eyelets!)

Easy to get a bit cross-eyed sewing this herringbone.

Sunday, April 9, 2017

Project Complete: Pink Wool Open Hood

Two new hoods in two weeks? Wha??!


Project:
An open hood of the early 15th  century.

Sunday, April 2, 2017

Project Complete: A 14th Century Square Hood


Project
A fitted "square" hood with underarm straps from the late 14th Century.

Sunday, February 12, 2017

Project Complete: Red Wool Cote


Project

A supportive cote of wool suitable as the bottom or middle fashion layer for early 15th century outfits.

Sunday, July 17, 2016

Project Complete: Early 14th Century Open Hood


Project: Open hood in the style of the Luttrell Psalter hoods, circa 1330

Sunday, June 26, 2016

Old Garb Update - Gold Wool Dress

Every so often, I take a look at old garb that I don't wear as much as I thought I would to see if I can make it suitable again. Recently, I thought I would go through that effort with my Dark Colored wool cote, but when I tried it on, I discovered that my body had changed enough that it actually fit better than it did when I made it. The only issue was that I'd placed the gores way too low. The easy fix there is that I always girdle it if I'm wearing it as my outer layer.

Sunday, June 5, 2016

Project Complete: Deep Blue Wool Cotte


Project

A long sleeve fashionable fitted cotte in blue wool suitable for 1410'-1430's.

Note: Sorry about the weird color inconsistencies and exposure in the photos. Each time my husband took a photo, the camera seemed to reset the settings. And that's Boomer. She's the best photo prop ever.


Sunday, May 15, 2016

Project Complete: Supportive Chemise


Project

A linen supportive skin-layer garment.

Sunday, November 8, 2015

Project Complete: Late 14th Century Transitional Open Hood

I think it might be clear at this point that I am a connoisseur of the open hood. I have an entire drawer full of them. Seven of them, in fact. Each with its own color and character. The seventh is the hood I'm sharing today.


Project:
A transitional style open hood suitable for the period between 1360 and 1420.

Sunday, October 18, 2015

Project Complete: Red Wool Pilgrim's Bag

At the end of the event last weekend, I had the wool bag assembled, including the finished strap, and I had just finished sewing the lining pieces together. Before inserting the lining into the bag, I finished the seams. I used a flat fell seam, orienting them outward onto the main bag piece.


Sunday, August 30, 2015

Project Complete: Celtic-Inspired Embroidered Tunic


Back in the fall of 2014, when I started this project, I knew I was probably biting off more than I could chew. This is definitely one of those instances where the vision in your mind, and the lure of potential end up setting you down a path you might not actually be ready for or interested in taking. As my husband and I talked over what to do with this gorgeous linen, we dreamed rather wildly about all the things it could be. The finished reality is less than those dreams, but worlds more than I thought I was capable of back when I started.

Sunday, July 12, 2015

Project Complete: Late 14th Century Brown Wool Surcotte


Project

A wool surcotte suitable for the very late 14th and very early 15th centuries.

Sources

I don't have a specific source for this one, as it's mostly a conglomeration of styles. For the most part, this dress is close to the general style seen on effigies and funerary brasses on late 14th century middle class women, but I can't draw too close of a comparison there. I really just wanted a dress that I could slip on over any of my fitted dresses, and an excuse to do front buttons, and still have a dress suitable to my period.


Methods

This is another dress that uses my current symmetrical pattern. I'm still really happy with how it's working for me, especially when it comes to the pattern layout and fabric conservation. If you were following me on Facebook when I was putting this dress together, you may recall that I shared the method I use to cut gores. It's a handy trick that cuts out a lot of time. In terms of the basic construction, this dress isn't anything new. The real differences come with the finishing.


In many ways, I tend to gloss over finishing details on my dresses. I think this is a throwback to when craftsmanship wasn't on my radar, and it's a bad habit I would really like to break. So for this dress, I looked for ways to include finishing details I don't normally do. The buttons were a major part of that, since I usually only do a few buttons on the forearms, if I bother to do them at all. By forcing myself to put a row of them front and center (literally), I had no choice but to pay attention to finishing and do them right.


I used a strip of linen as a facing on each side of the front opening. You can see this type of treatment on some of the London finds (Dame Helen explains a bit about these in her post here.) I also stab stitched the very edges here. Not only does it offer a nice detail, it adds a bit more strength to these edges. I haven't seen that on anything in particular- I just liked the idea.

I didn't have any silk that was remotely the right color, so I mined my pearl cotton stash and found a brown that works. It's not an exact match, but I like that about it.


I used my own method for the buttons, again using pearl cotton since it's stronger than the sewing thread I was using. I used more thin strips of linen to face the neckline and sleeve hems. The seams are flat felled.


Conclusion

This was one of those projects that fell out of nowhere. When I purchased the wool 2 years ago or so, I didn't have a plan for it, but I don't think this would have been the dress I made if I'd had a plan. This dress happened because I wanted something nice, that looked pretty and could fall into my "formal wear" category when I needed it to. I also liked the idea of going into my apprenticeship ceremony in neutral colors- just a hint of symbolism that meant something to me if to no one else. 
Photo by Lady Marrissa von Atzinger: http://marissavonatzinger.weebly.com/

This dress feels very luxurious to me, despite the blandness of the color. I think it fits well, though slightly more loose than I had intended, and the short, straight sleeves are very comfortable. In the end, I don't think there's anything I would have done differently. Always a plus.

See more photos of this dress over in the Flickr album or on Facebook!

Sunday, April 12, 2015

Project Complete: Green Linen Summer Cotte


Project
A lined linen supportive dress in an early 15th century style for summer. 
This dress was also created to fulfill a "pinkie promise" challenge given to me by a friend. The challenge was to wear a new outfit to the next event we both attended. Due to some weirdness in schedules, we agreed to some compromises along the way, specifically that not every item needed to be brand spankin' new. I fulfilled the challenge by wearing this dress with my recently finished red wool hood (which I'd only previously worn for a few hours one evening at Gulf Wars and a few minutes at Silver Ceilidh.) I had intended to also wear my ginger linen cotte, but as I'll explain below, that would not have worked. While the purpose of our pinkie swear went through some transitions as we accounted for some things we couldn't control, I'm more satisfied with the intent of the challenge, and what it pushed me to create. I made 3 new items that I'm incredibly happy with while this challenge was going on.

Sources
From Bible Historial, BnF Français 10, fol. 318.
I'm going to call this one a "modern adaptation" of a common early 15th century style. While I can certainly find images of dresses similar in cut & color to source the visual result of my version (see one example above), the truth is that my dress is more costume than recreation. The currently-accepted belief among researchers and medieval recreators professionally studying this time is that early 15th century fashion was achieve through layering, and that a bare minimum of 2 layers would have been worn by most people, most of the time. One of these layers would have been a "body linen"- a shirt, chemise, smock (there are other terms, depending on where you're looking geographically)- that was worn directly against the skin. The other layer would have been the "fashion layer"- a cotte or kirtle on women or a combination of cotte and hose on men- and would have been most often made of wool. The level to which the garment was actually considered "fashionable" was directly correlated to class. This dress is none of that.

This dress combines the body linen layer and the fashion layer into a single dress. A lining isn't really a surrogate for the protective qualities of a smock, but it does provide opacity to the dress, and will, in its own way, protect the outer layer at the very least from grime. The outer layer isn't wool, however. The choice of linen here is a comprise based on the heat and humidity I will wear it in through the summer. While 90 degrees isn't comfortable in general, it would be more comfortable in linen than it would in wool. I'll grant that tropical weight wools are certainly an option for this, but that's not what I chose to do.

Other than these rather important points, however, this dress is stylistically in line with French fashion from the first quarter of the 15th century. In reality, this and my blue linen day dress are essentially the same thing. This one, though, supports on its own, while the blue dress requires a supportive layer underneath.


Methods
The major difference between this dress and others I've recently created is the change to the underbust fit described in my previous post. After getting the fit correct and assembling the four main panels, I added the gores, and hemmed the skirt. 
In order to have the dress ready to wear this weekend, I made the conscious decision to not finish any seams I didn't need to. That'll still need to happen, however, to ensure the dress lasts. 
I made a very slight adjustment to the armhole, primarily to remove width on the shoulder. I like to use a sleeve curve tool for this, especially since I'm still working symmetrically, because I can measure these adjustments to ensure they match on both sides. 

I used my sleeve drafting method to create the sleeve pattern. My measurements dictated a .5" high sleeve head, which was insane, but worked very well. I did find, however, that I needed just a bit more height at the top of my shoulder, so I made that adjustment when I transferred the pattern to my linen. (The sleeve is not lined, btw.) Worked perfectly.


It actually worked so well, and I had such a great fit in the forearm, I changed my mind about creating a 3/4 sleeve. I just couldn't justify cutting off such a good fit. I also would have had to figure out how to get a sleeve layer in the summer, since the dress was specifically created for wearing on its own. The sleeve is fully closed, which is supported by early 15th century imagery, which makes wearing a dress with buttons, like my ginger linen cotte, pretty pointless visually.


A new finishing technique I've been trying my hand at is using a strip of cloth to bind the hem. This time, I decided I wanted to use bias tape for that rather than the straight-cut strips I'd been using. I dug around, and located a really fun green and white gingham tape. I liked the quirkiness of that, so that's what I went with.
Evaluation

Despite the fact that I can't say this dress pushed me any length down my road to greater authenticity, it did push me further down my journey to create a better fit. Normally during an event, I find that I need to adjust my bust in one way or another on average 20 times. This includes grabbing and hoisting them back up when they start to slip south, or adjusting the arrangement of the tops because they start to spill out or get lopsided. Once I had this dress on and everything in place, I never made an adjustment. Not a single one. Nothing moved. Nothing shifted. 

It was amazing.

There are, however, still some things I'll need to troubleshoot on the next dress. I don't perceive an issue while I'm wearing it, but in the photos, I'm not in love with the amount of pulling and wrinkling around the armhole/shoulder. I think that some armscye adjustments were needed there that I missed, and the shoulder seam probably needed some adjustments. 
I do like the way the back turned out. One of my most flattering results, given that there's challenges inherent in my physiology that mere cloth might never truly overcome.

I also made a goof that I decided to just roll with. I had white thread in my machine and didn't think to change it out for green or even black. When I realized that, I just decided to keep going. So you can see the whiteness on the stretched seams. When the seams are finished, this shouldn't be as noticeable, but even if it is, oh well. I'll just try to not be so eager to start sewing next time.
Conclusion

I'm insanely satisfied with this dress. If there were no successes other than the underbust fit, I'd still be satisfied with it. I hope you can understand how not needing to worry about my bust, and not having any reason to fiddle with it, is a huge thing for a woman my size. Of course this now means that the bar has been raised on fit, and all my other dresses fall short. 
I'm looking forward to putting this dress through its paces over the summer. I really like the freshness of the color, and I think the weight is perfect. It will be interesting to see if I still like it in September.

I still owe you a full photo shoot on this one. The photos presented here were the best in the bunch. I didn't have time or sunlight on my side. I'll let you know when more photos are available!

Sunday, March 8, 2015

Project Complete: Early 15th Century Townswoman Outfit


Project
A layered outfit in the style of early 15th century French townswomen.

Sources
Throughout the dozens of French manuscripts produced in the first few decades of the 15th century, a particularly typical clothing silhouette can be seen on what I would describe as urban townswomen. Broadly, these women were non-nobles, most often among the lower or working classes (though not exclusively or necessarily "peasants"). It appears in the available imagery, primarily looking at manuscripts, that these townswomen relied on a pretty straight-forward formula to create outfits that typified their class ideals of what was fashionable and appropriate. I have way too many favorites to show them all here, but here's a selection:

From The Comedies of Terence (BnF MS Latin 7907A), Publius Terencius, circa 1400-1407, fol. 81v.
Sostrata, a widow, with her servant, Canthara (in the purple "townswoman" outfit), and slave Geta.
Adelphoe (The Brothers).
From The Decameron (Arsenal MS 5070, reserve), Giovanni Boccaccio, 1432, fol. 337r.
A man and his wife offer room and board to 2 traveling men. Tale 6 from Day 9.
From De mulieribus claris (BnF MS French 598), Giovanni Boccaccio, circa 1403, fol. 100v.
Marcia, a roman sculptor and painter.
The outfit, on the basic level, is made up of two dress layers and an open hood. The lower layer could plausibly be a supportive dress with a front or side lacing. The top layer is a body-skimming fitted gown devoid of visible lacing or buttons.

Taking the whole selection of images I have of this type of outfit together, I believe that both dresses are long-sleeved. When the top layer's sleeve is worn down, I can find very little evidence that supports buttons in use in the manuscript depictions. In many images, however, the top layer's sleeves are rolled or pushed up, and in some cases, either buttons or the indication that the sleeve was opened at the wrist are present. 

From Saint John Altarpiece, by Rogier van der Weyden, circa 1455.
Wearing the sleeves in this "pushed up" manner is seen later in the century on a servant woman in the Saint John Altarpiece, by Rogier van der Weyden. In that case, though a bit later than the years I'm looking at, the outer dress sleeves appear to be looser, allowing them to simply be push up. The lower sleeve is clearly buttoned. Since this type of buttoned sleeve was developed in the 14th century, and still appears to have been in use by at least some women by the middle of the century, I think it's likely that one or both of the dress sleeves in the 1420's townswoman's outfit would or at least could have been buttoned.

Both dresses conform to the fitted ideals established at the end of the 14th century. This type of fitted gown had already been abandoned by noble women around the start of the 1420's, but certainly enjoyed a second life as the favored style among the lower ranks of society. Sleeve style is really the only true difference between what peasant/working women were wearing as compared to the bourgeois/middle class were wearing. For wealthier women, a flap-style, tippet-like sleeve was considered more stylish.

While I'd like to be able to state that the two styles of dress (long-sleeve and flap-sleeve) could have been interchangeable (meaning that they are simply two different takes on the same dress), there isn't much evidence for that. The secular imagery available in the contemporary manuscripts show that seemingly minute style differences occurred between the clothing of different classes, ranks and occupations of women. That's not to say that a slightly wealthier woman with her foot in the middle class (such as my persona) would not have owned and worn this particular "townswoman" outfit, but rather that it would not have likely been her preferred outfit for social appearances, as it would have conveyed her station to be somewhat lower than her actual affluence allowed.

So this outfit, with two long-sleeve fitted dresses worn with an open hood, is in my eye the very specific uniform of a woman engaged in some for of working or laboring activity from the era between 1400 and about 1450. Whether the woman falls into the category of free citizen or indentured servant doesn't make a big difference here- we're looking at a woman who had either an occupation or was required to perform some variety of physical task.


Method
I'm not going to go into too much depth on how I put these together, since I already outlined a bunch. I shared the hood last week. The lower dress is made from a ginger-colored linen. I experimented with a symmetrical pattern for that. The outer dress is made from a navy wool I held on to for way too long. I used the same symmetrical pattern for that. I also used my prototype sleeve drafting method for the wool. I ran into significant difficulty, however, when I discovered that the wool was extremely elastic on the bias. The fault wasn't in my sleeve draft, just in the nature of the wool on the curved armscye. I ended up removing about 3" from the shoulder seams and another 2" from the side seams to account for the stretch. After that, the sleeves fit perfectly.


I used a set of faux-brass buttons (they're actually plastic) for the sleeves on the ginger cote, and stitched the button holes with 100% silk embroidery thread. I literally just happened to have the matching color. I used the buttonhole sewing tutorial at La Cotte Simple, and I'm truly better for it. My previous buttonhole are not even remotely as pretty. The wool dress buttons are fabric using my tutorial, and again, 100% silk thread for the buttonholes.

At the last minute, I decided that I did not want the front lacing on my linen dress. I have several reasons for this (one, admittedly, being that I didn't have a lot of time to do eyelets), but I'm really happy that I made that decision. I have been increasingly frustrated with the performance of lacing on many of my dresses (too much gaping). My bottom-most layer is a laced supportive piece which is doing an excellent job. On top of that, non-laced dresses are really working well for me. I know this isn't supported in the period evidence, or a viable option for most people, but it gets me where I want to go better than any other options I've used.

Not sure what's going on with the color here. It's not really this gray.
The linen dress is entirely handsewn. I had less time for the wool, so the construction seams are machine sewn on that. The finishing on both the linen and wool dress are felled, using overcast (or hem) stitch to tack the seams down. I really prefer the look of that over using running stitch which can snag or break more easily. I hand stitched the skirt hem on the linen as well, but the wool hem is machine sewn (again, a time issue). The necklines on both dresses are finished with a strip of their respective materials and running stitch. The ginger linen neckline is a bit more decorated with three rows, versus the single row on the wool.


Evaluation
Both of these dresses had issues during their construction. On the linen dress, when I decided to skip the lacing, I left the twill tape intact. This was probably not the best move, but so far I'm not irritated with it enough to do anything about it. I also showed the seam finishing on the sleeve seams in two different directions (one going into the sleeve, one going onto the shoulder.) I've decided that I'm just going to consider that an inside joke. With the linen dress, the reality is that the body portion of the dress was never meant to be seen. In the future, I may snap a few photos of it to share with you, but it really isn't anything special or different from what I've shown in the past. I do feel sort of guilty not showing the dress on it's own, but I'm so much more excited about the outfit as a whole, I hope you're willing to forgive me.

The wool dress took an incredible amount of time out of my life. I didn't want to make any more compromises with it than what made sense, so the finishing was a very long process I hadn't really planned for. It was all worth it, though, since the seams look great, and the whole dress is solidly built. As they always say, good things take time.


I didn't line either of these dresses in order to give myself the opportunity to wear them into the spring as long as possible and to have them available to wear earlier in the autumn. If I was favoring authenticity over the practical needs of my personal comfort, I would have lined them both.

Bottom line is that, with everything else ever, there's room for more improvement. But I'm still going to pat myself on the back here. These dresses have taken me further into the realm of accuracy and skill than I've previously gone.
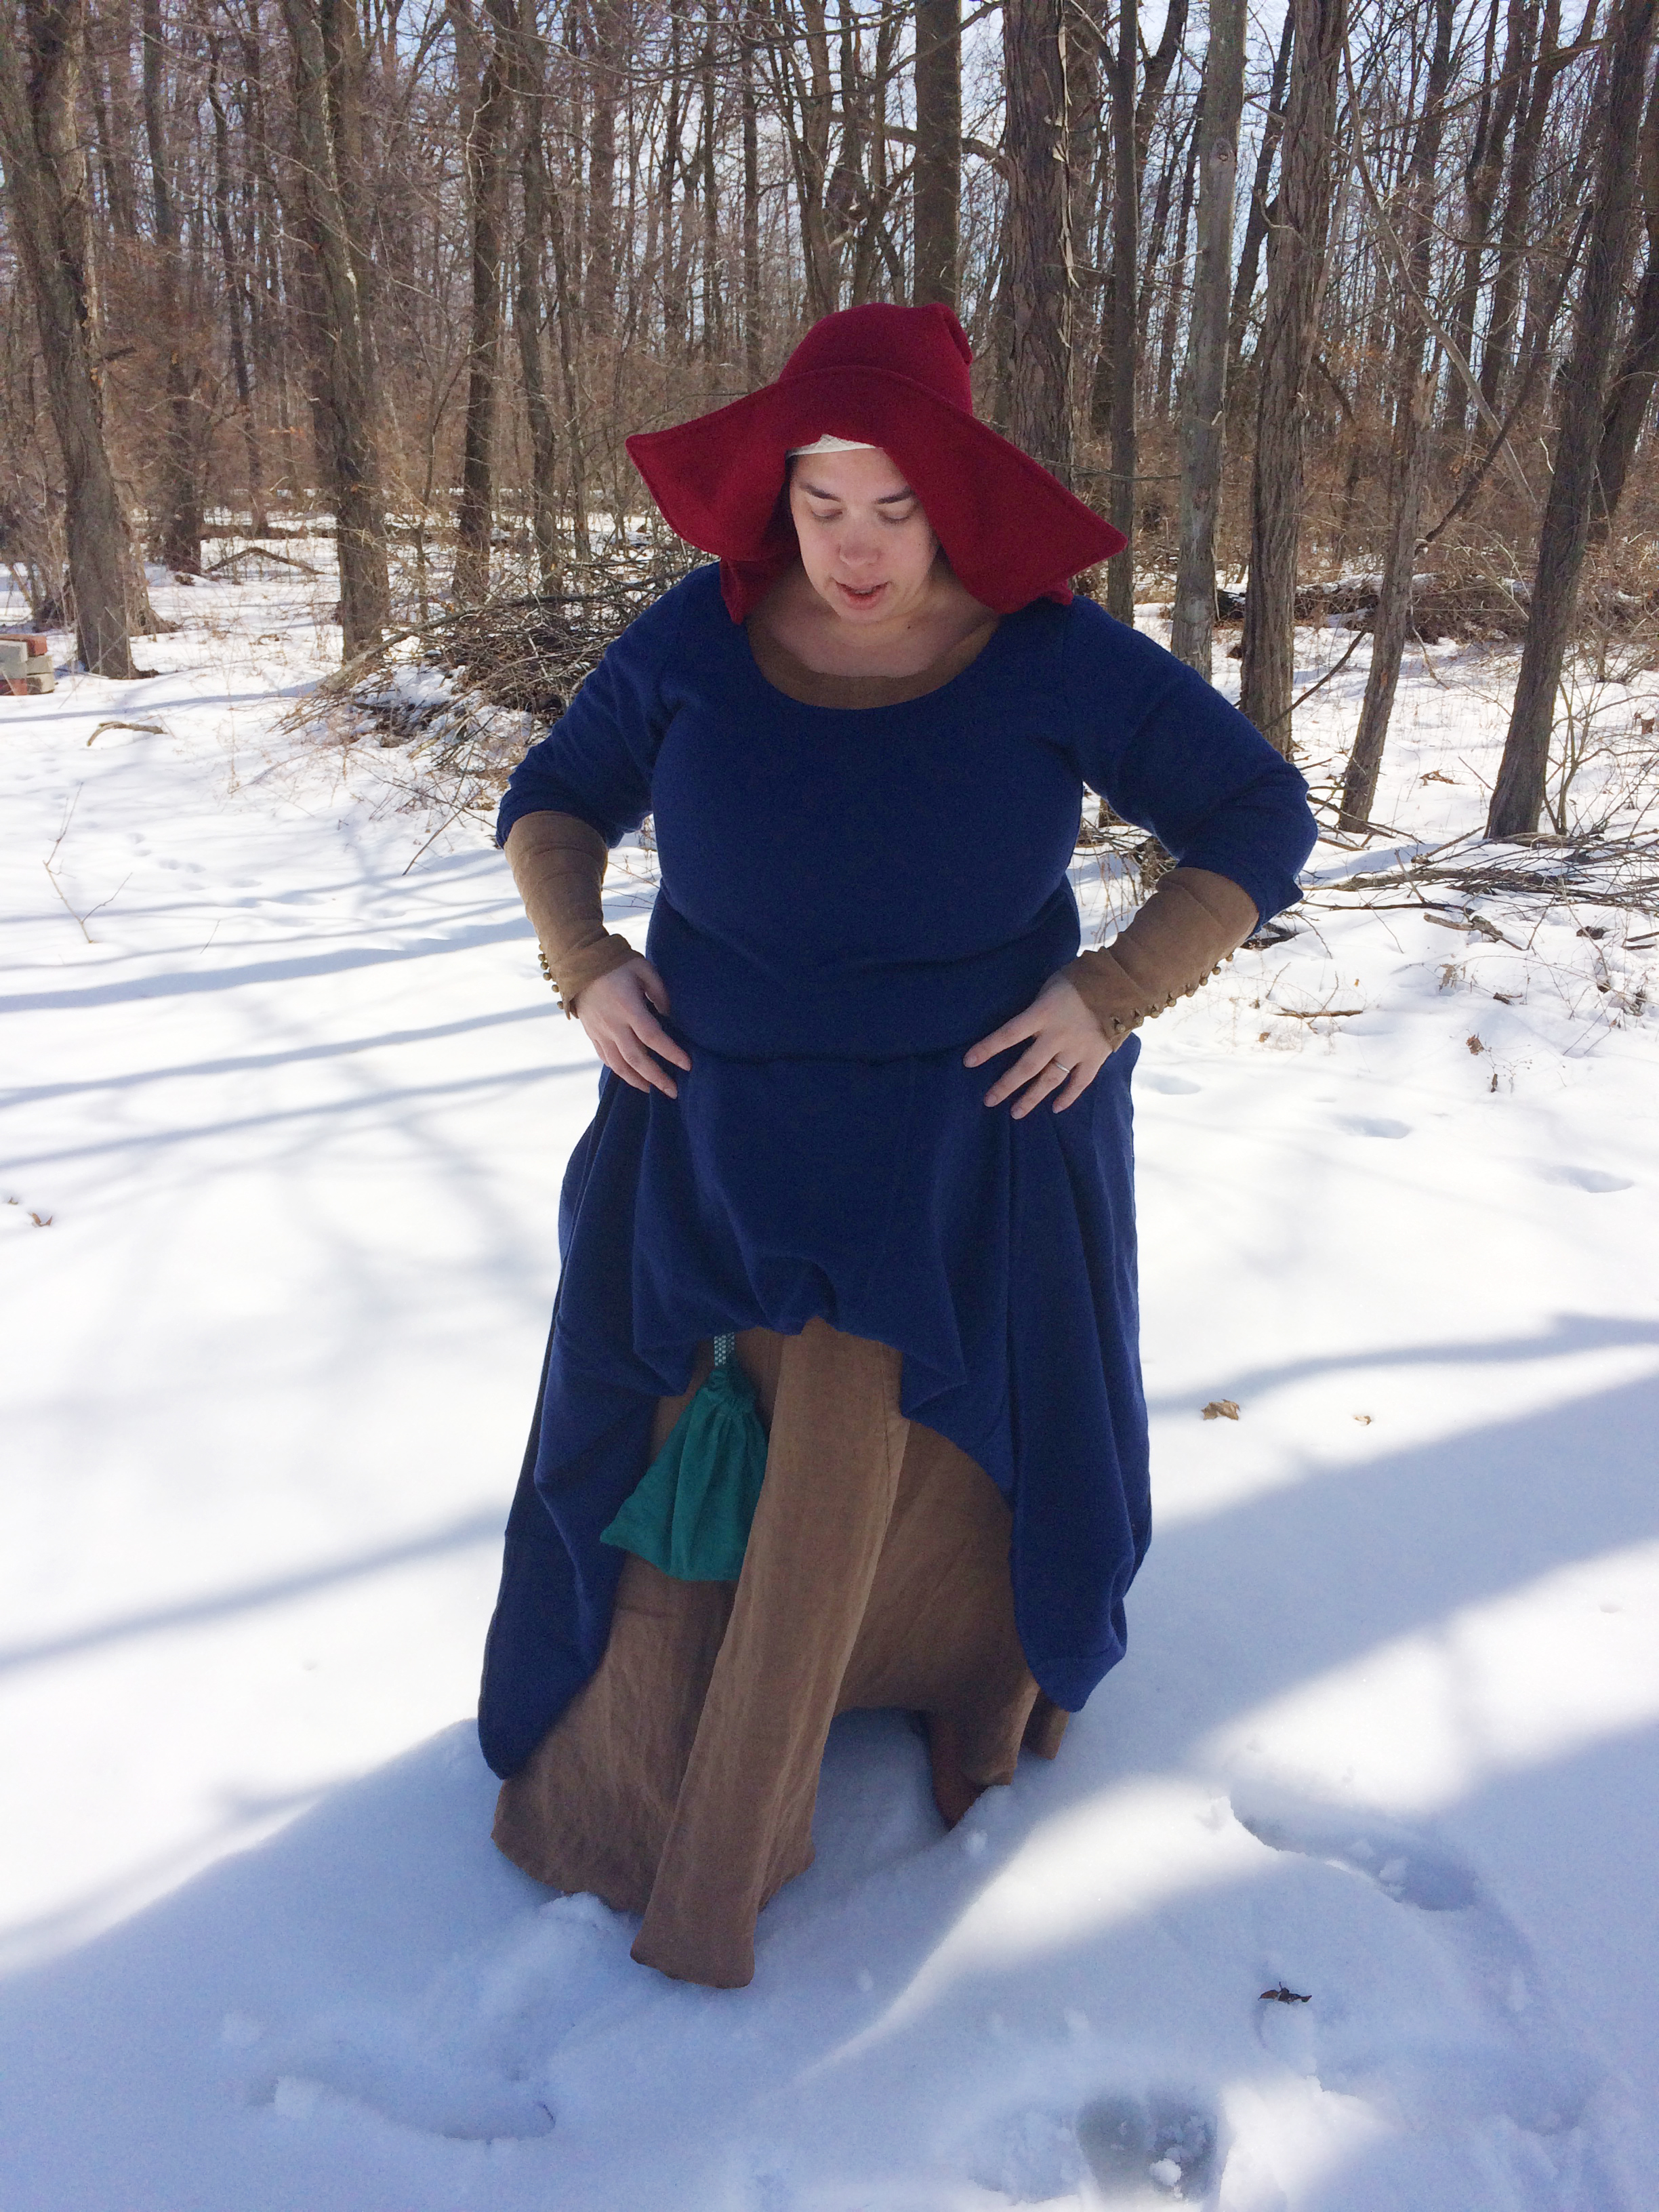
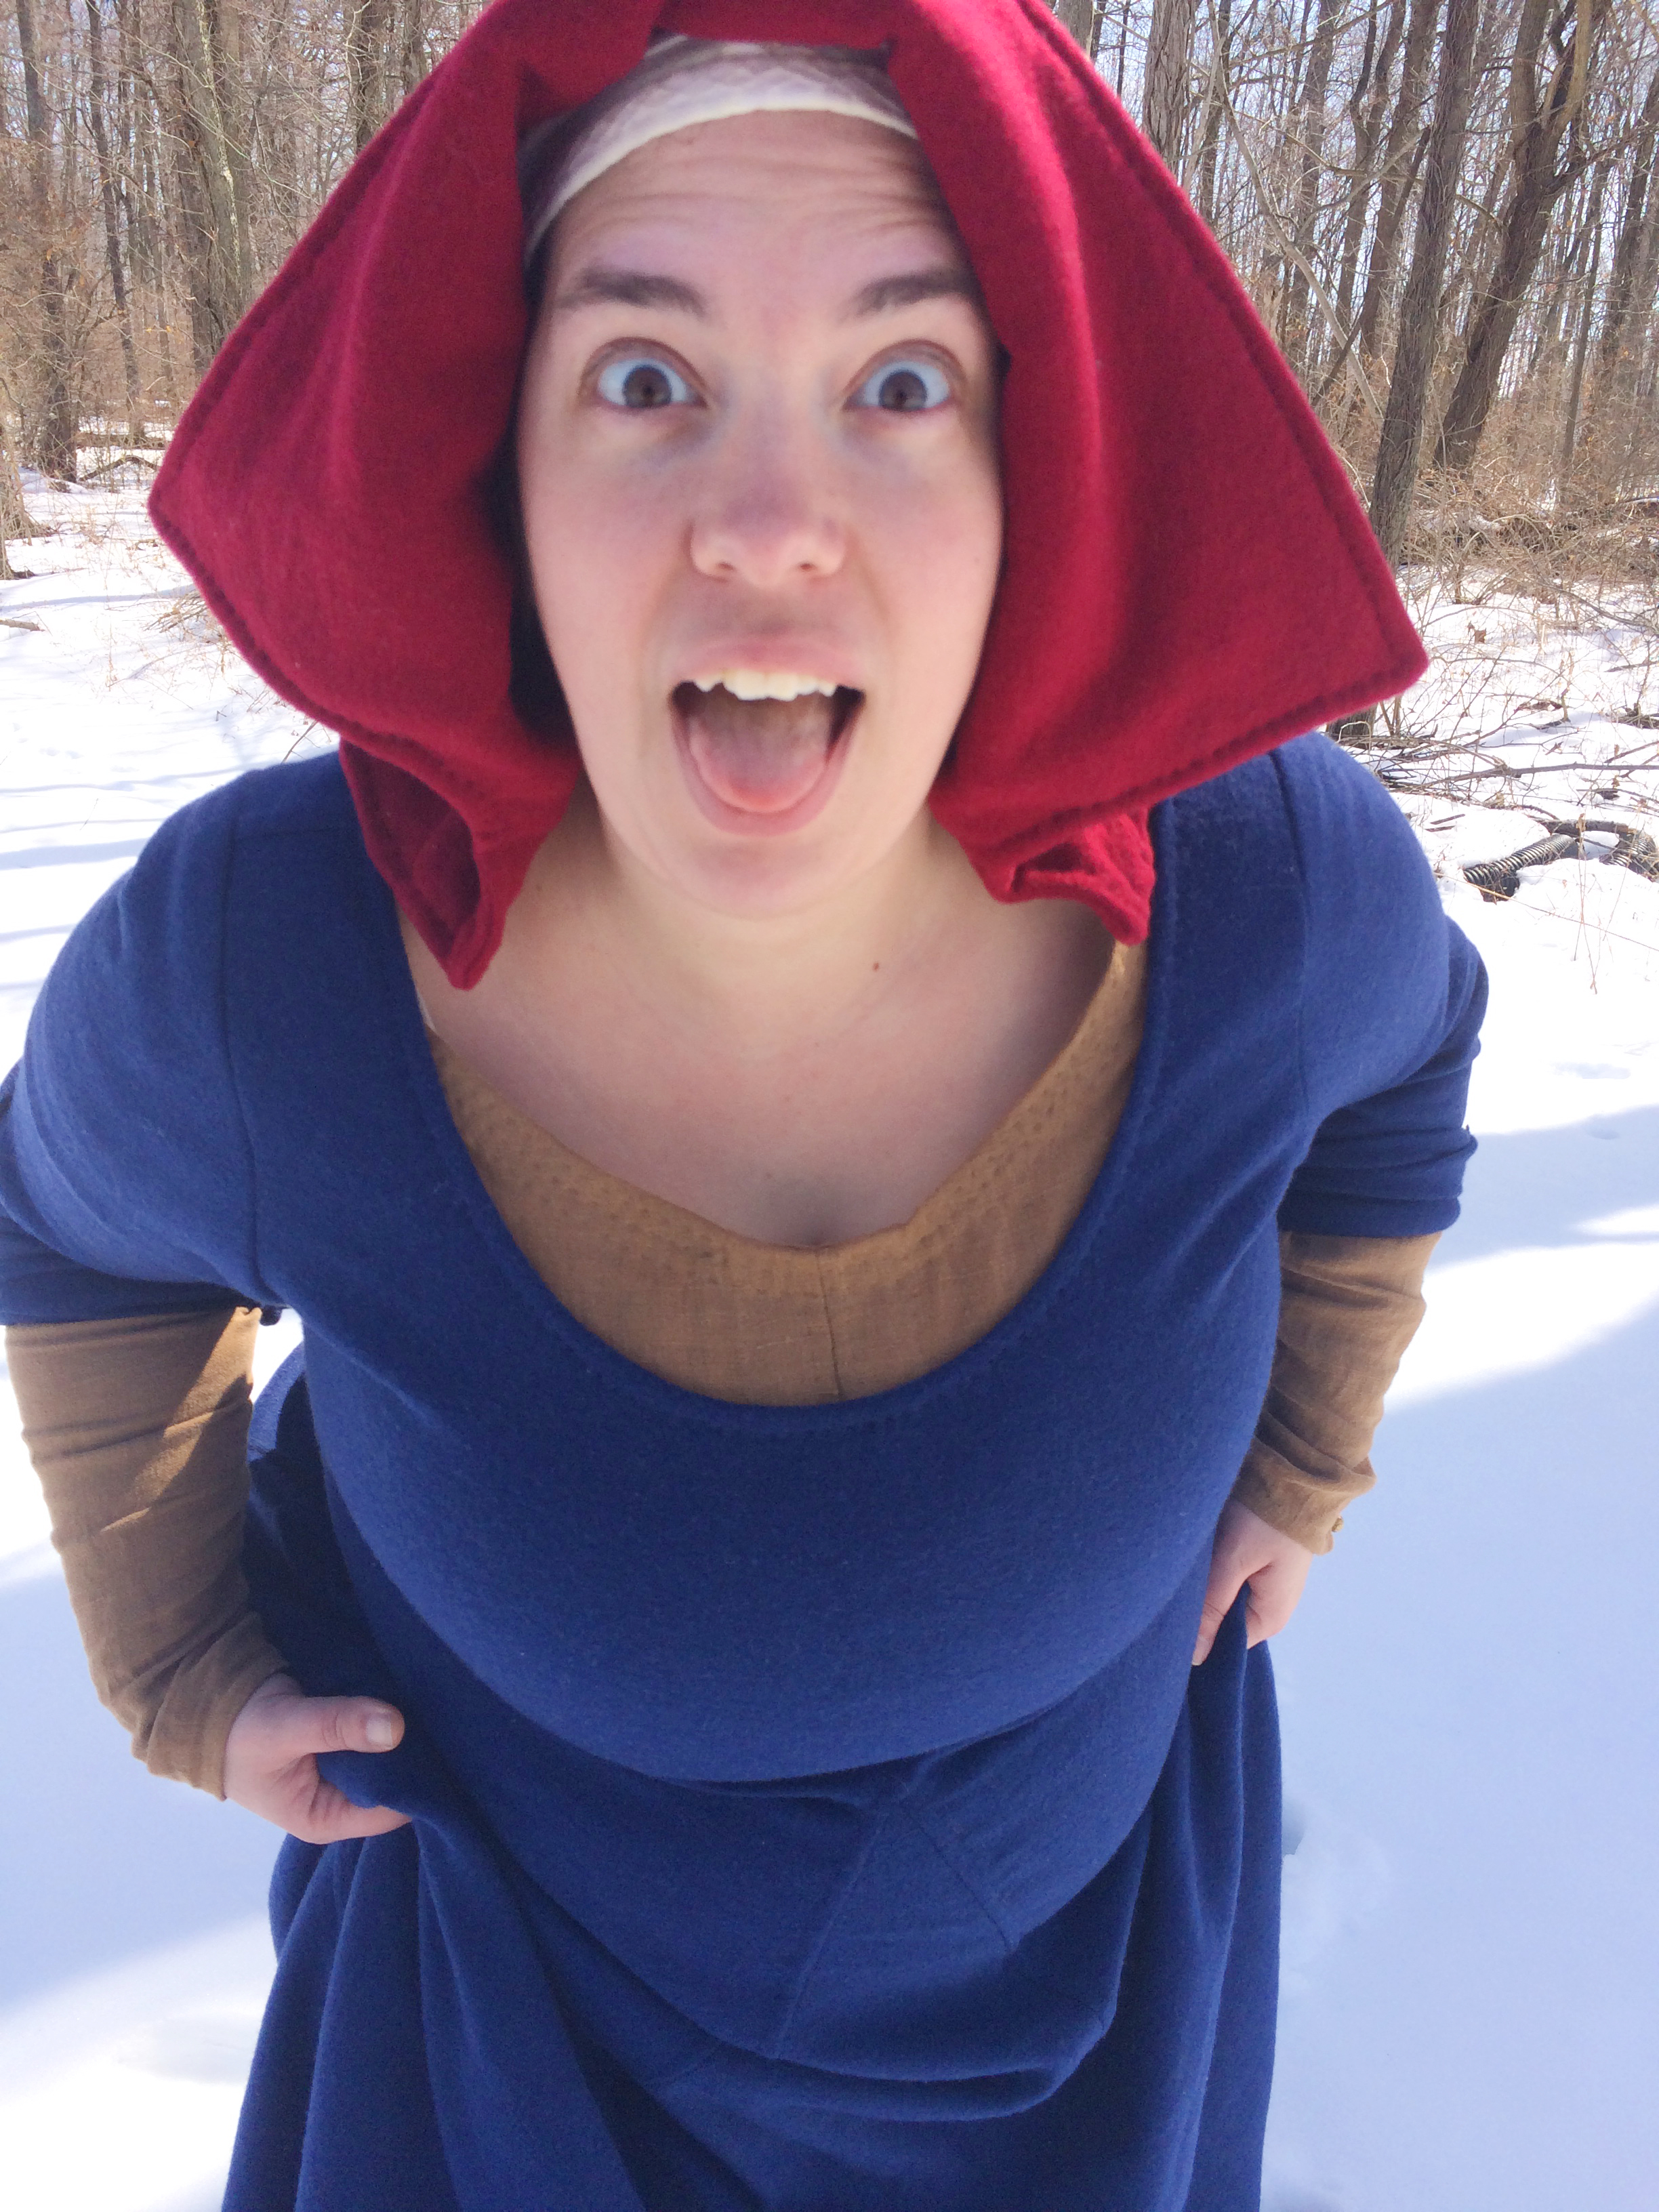
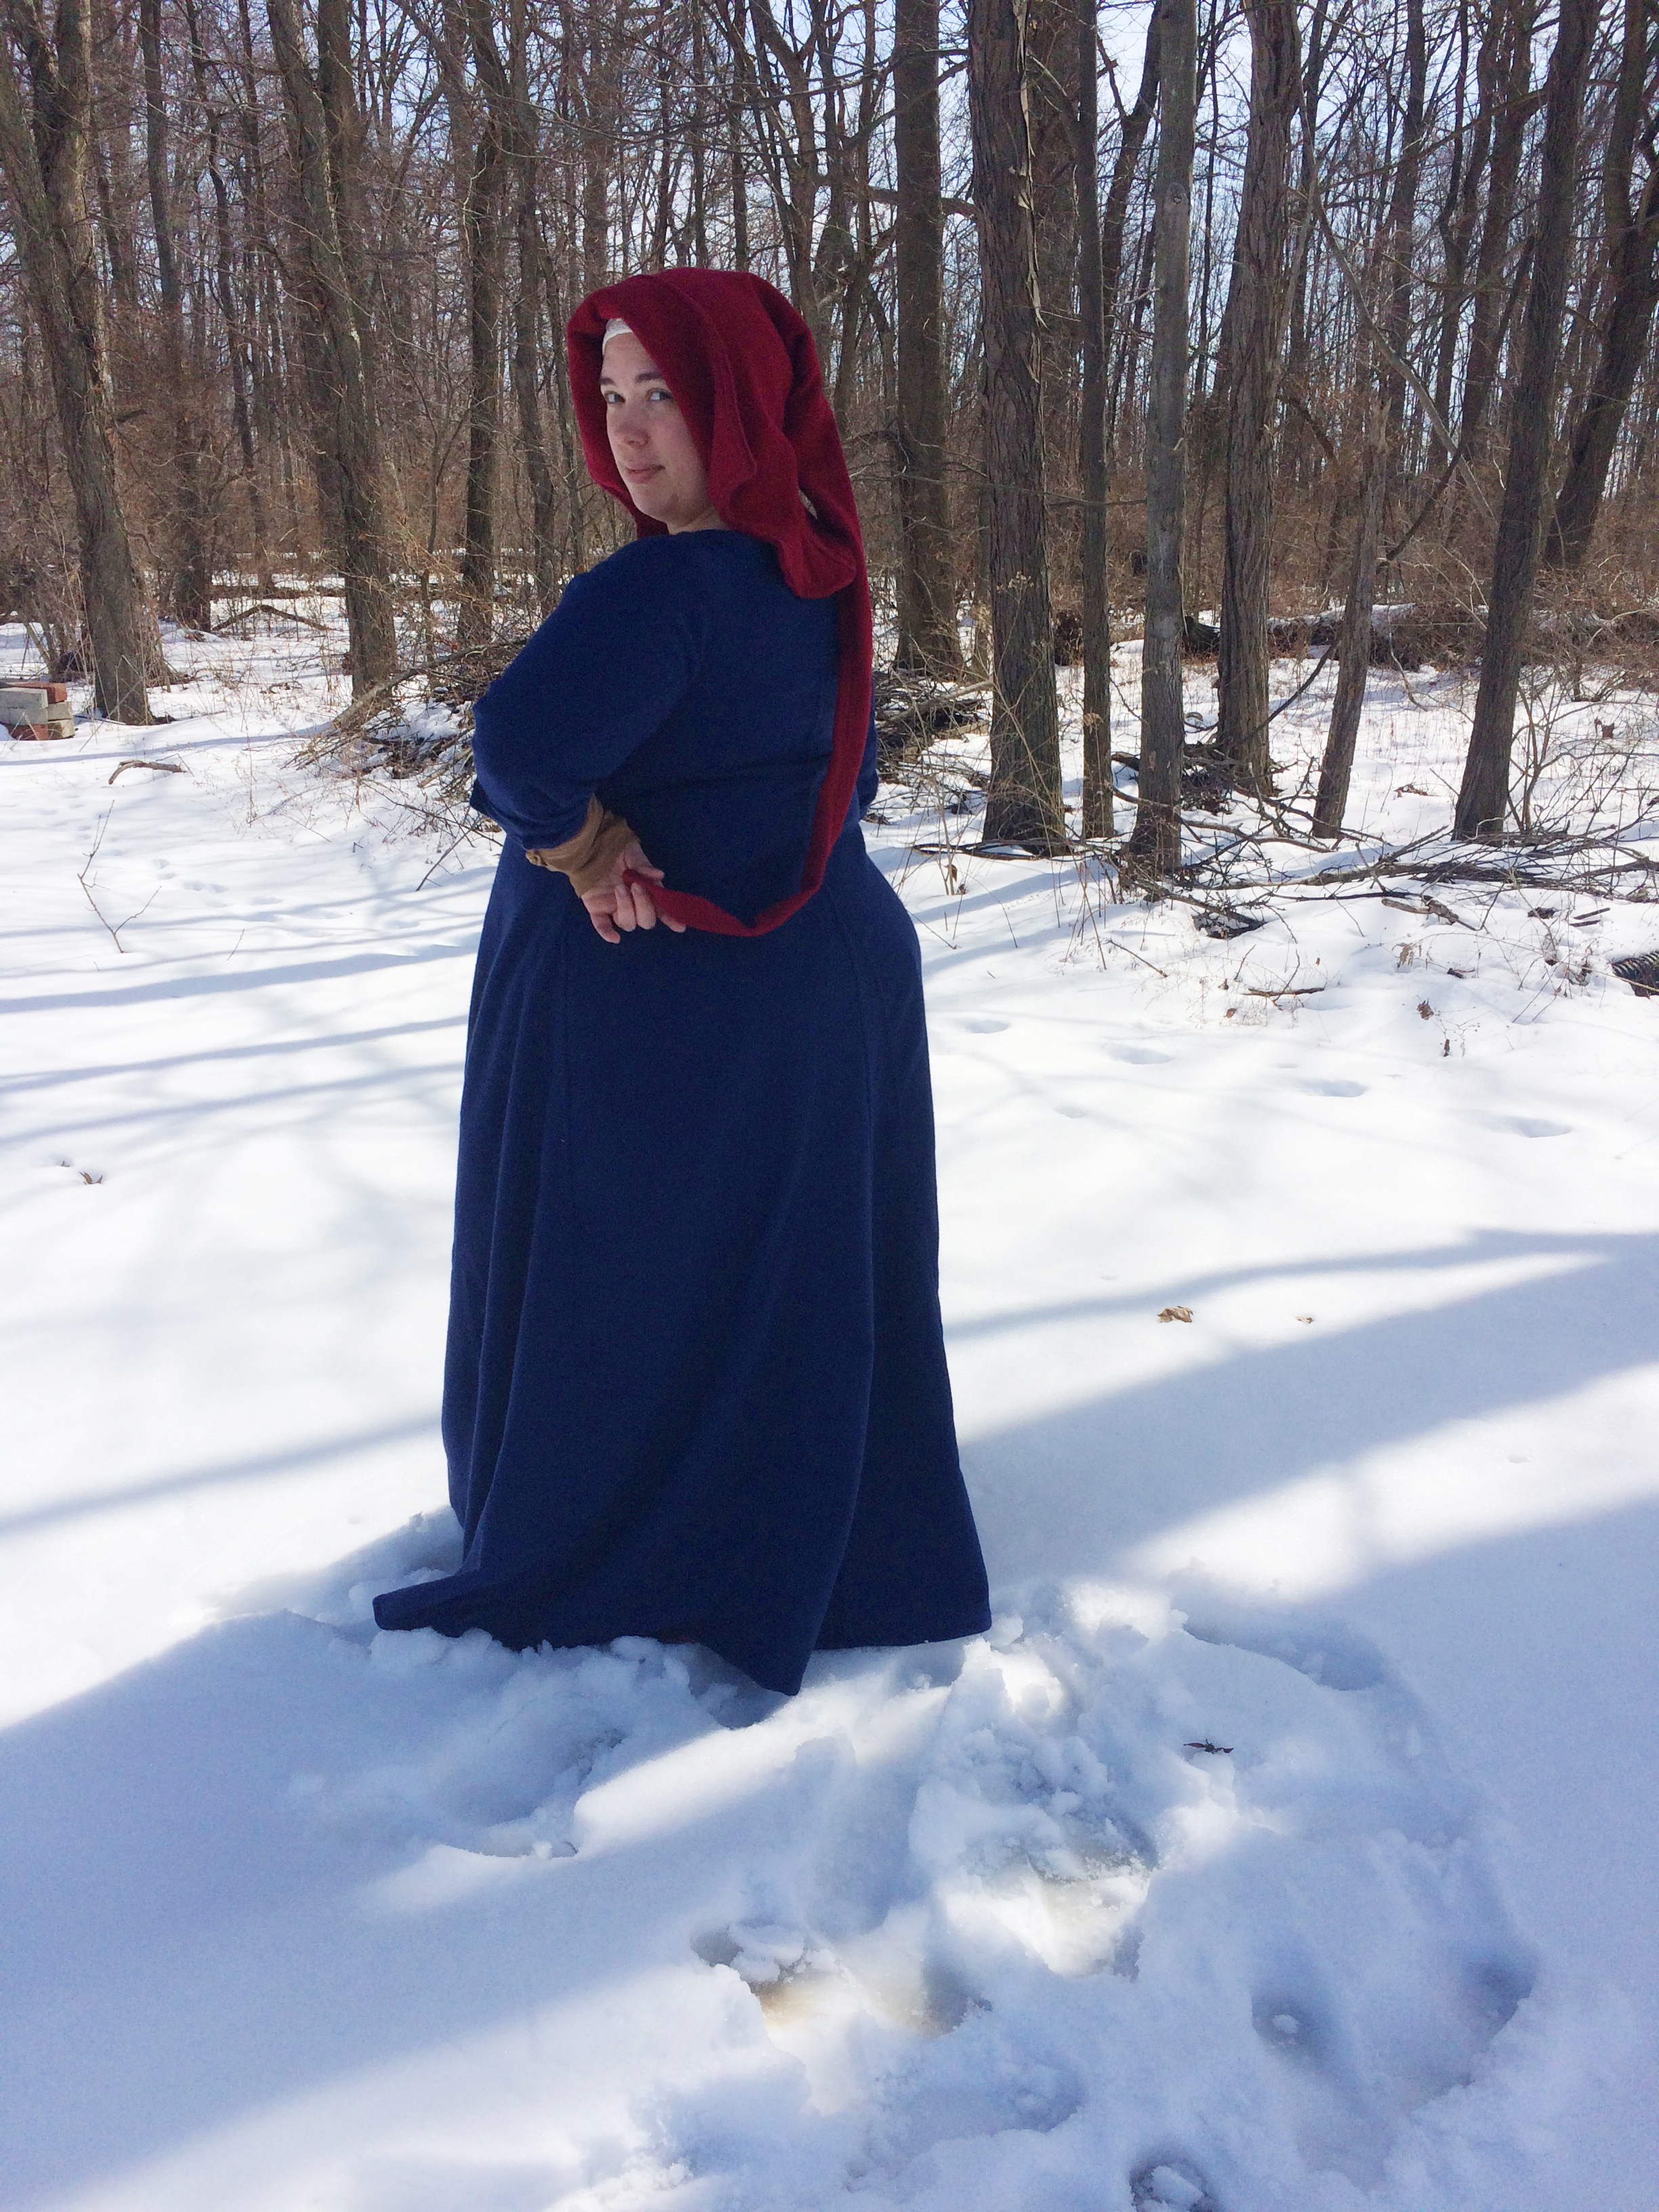
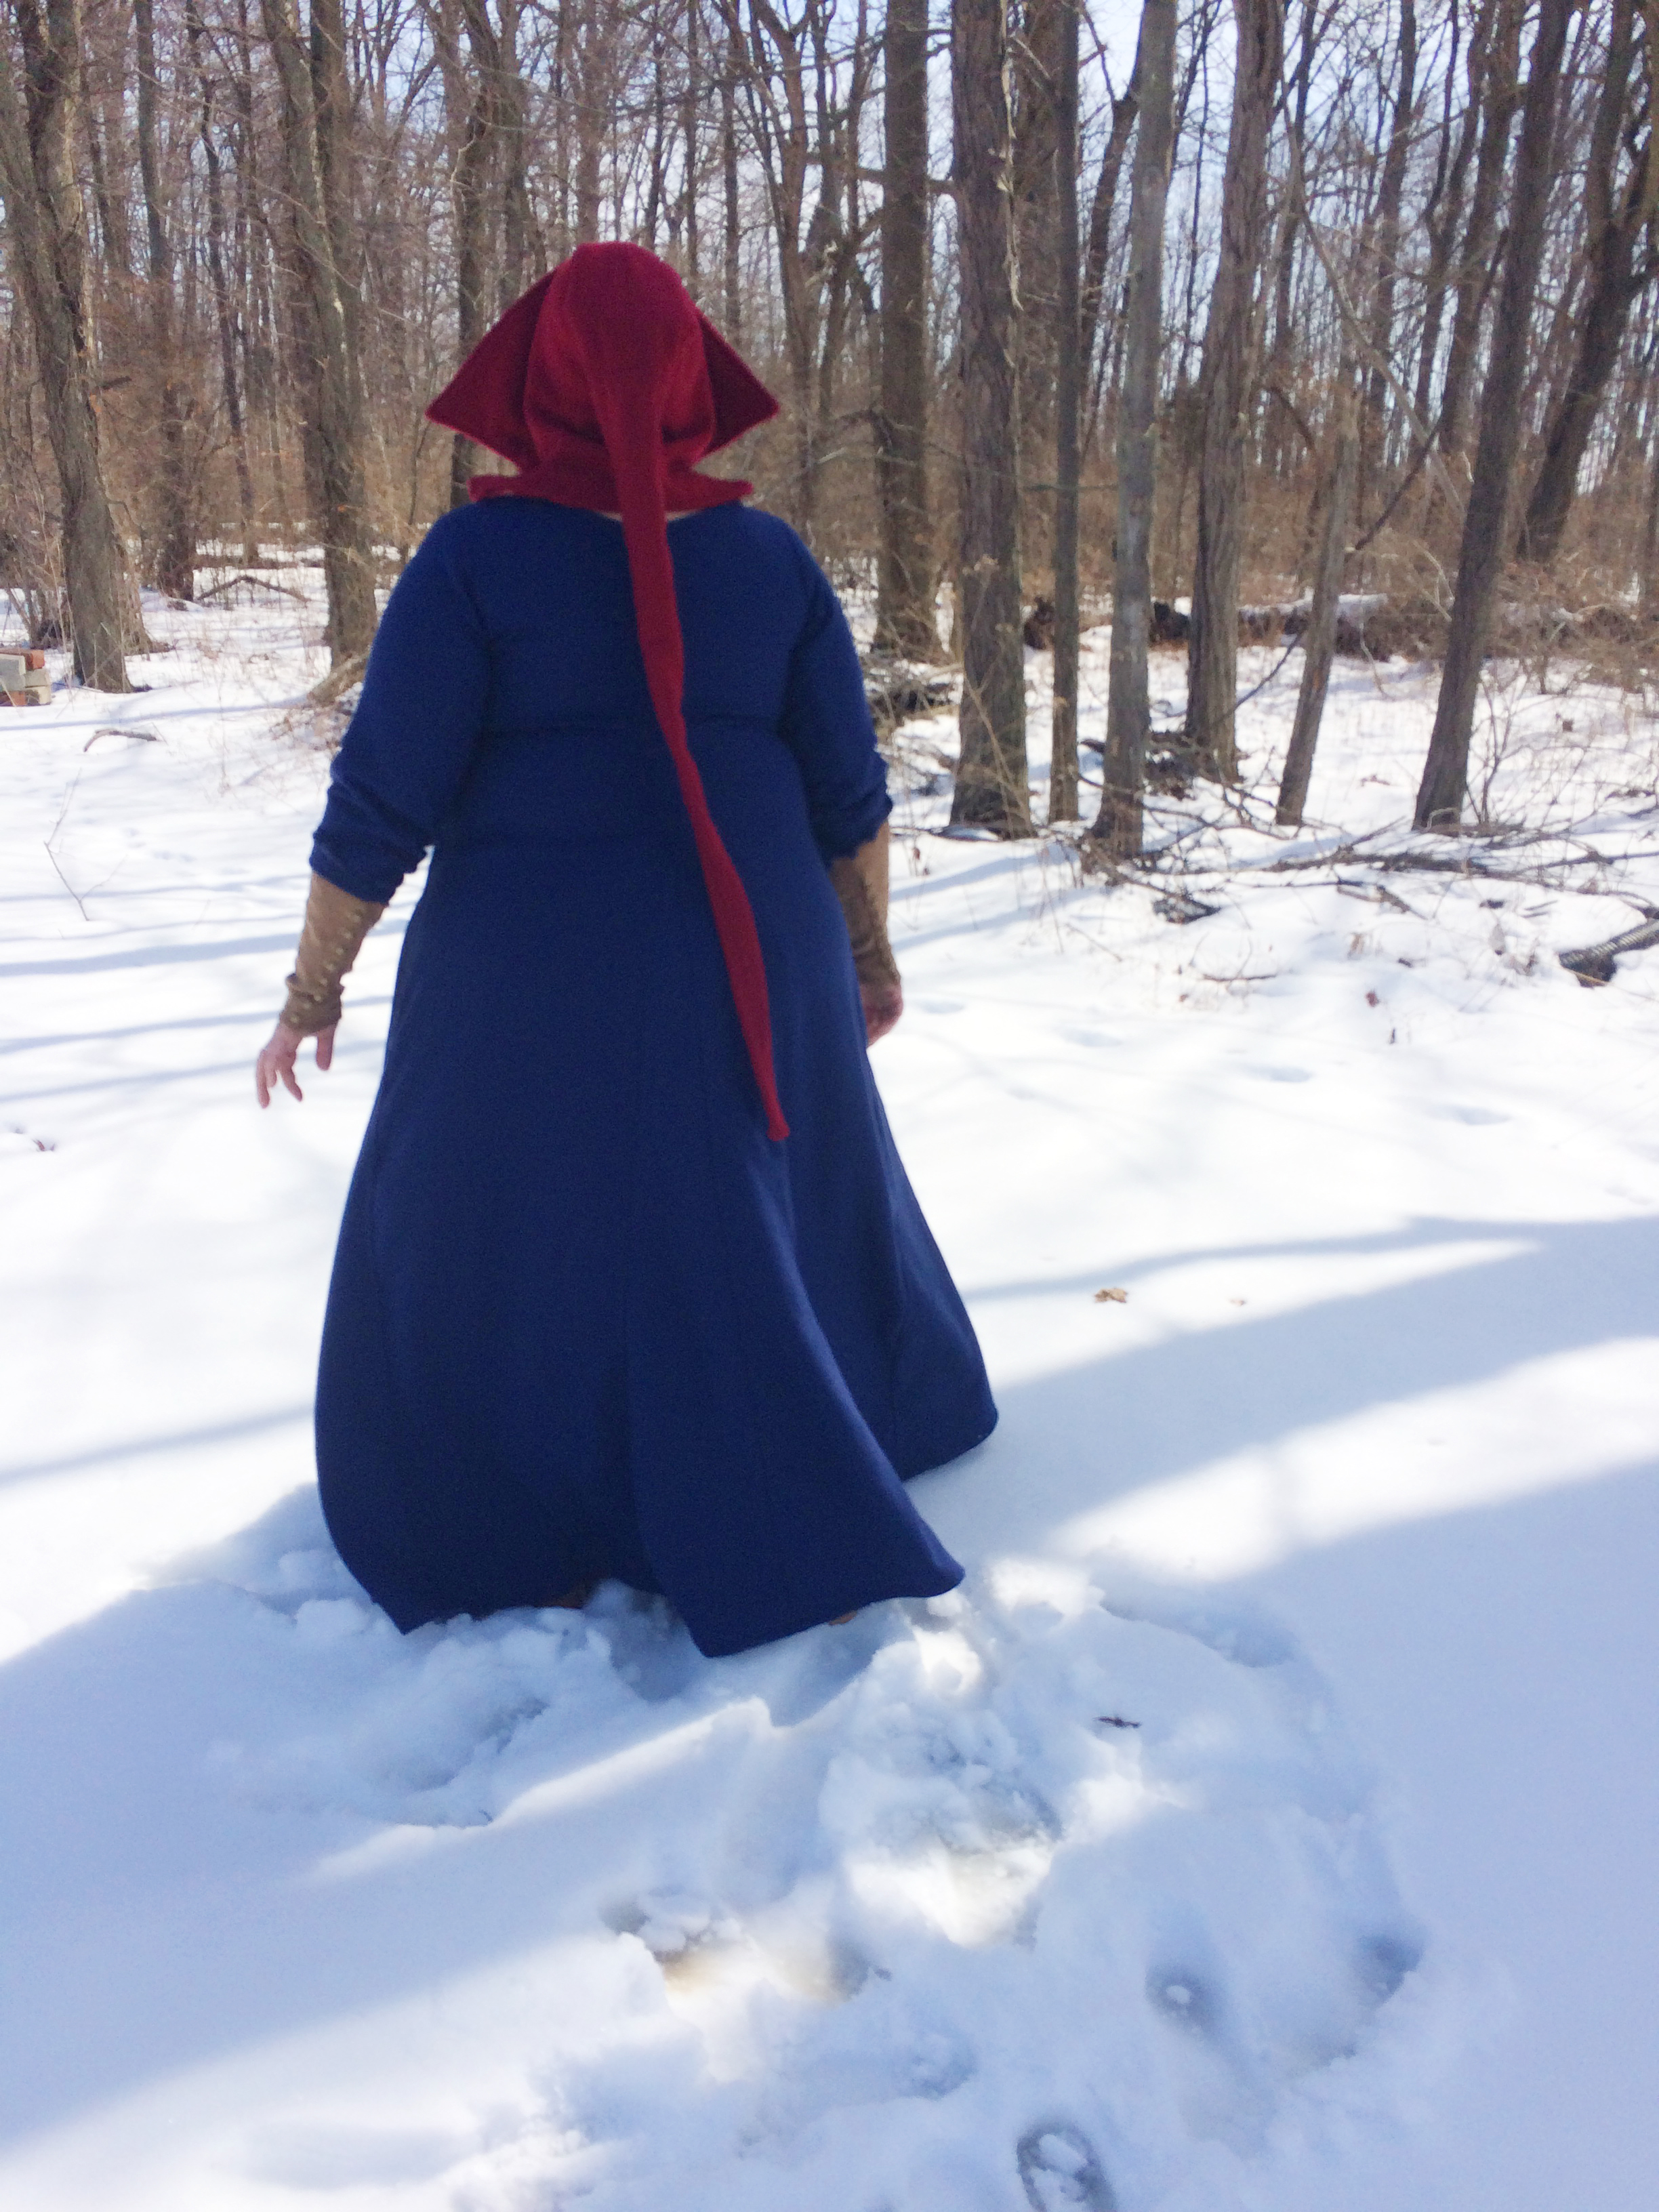
Just look at the wings on the hood!
Conclusion
This project really just proves to me that the more things change, the more they stay the same.


Back at the start of 2011, I developed a complete outfit that was meant to eventually be an A&S entry. I called it my "Garb Quest", and the image above was the original idea I had for what the outfit should be. I stalled out on this project (an unexpected pregnancy derailed me as a start), and eventually realized that the goals of the quest were no longer in alignment with my personal goals. So two years ago, I officially purged it from the project pile.


The thing was, I still had all these materials. And while I still had a ton of research and learning ahead of me, I already had mostly the right idea with my original drawing. So I'm really not surprised that when I put everything on when this outfit was done, it all looked familiar. So I'm going to call it- Garb Quest is DONE.


I'm incredibly happy with this outfit, which I'm sure is not news to you. It's comfortable, and despite the single layers pieces, was warm enough when we stepped out into the snow for these photos. The wool is soft and it's a great deep color. I think it will work very well as the middle layer I need for the outfit I'm assembling for the Manuscript Challenge.


 As always, you can see more photos either on Flickr or over at Facebook!

On to the next!

Sunday, March 1, 2015

Project Complete: Red Wool Open Hood

This project has been on my "want" list for a very long time. Like 7 years a long time. I came close with my linen hood, but that one definitely falls flat, both figuratively and literally. But this one? I have a hard time believing that I'll ever need to make another open hood again.


So let me backtrack just a bit by reminding you of this post a few months back. The cliff notes version, in case you haven't read it, is that open hoods are not a style of hat that remained a static constant. The open hood was present for the entire duration of the 15th century, but just like fitted supportive dresses, it evolved as styles and ideals evolved. The open hood of 1410 would have been quite different from the open hood of 1480, even if they were both made from identical pieces of wool.

Ever since that post, I knew that I needed to create a new hood that better matched my findings. While I love my other two hoods, and will continue to wear them, I realized that they were anachronistic when compared to the shapes of hoods worn in the 1400's. They almost didn't match any of the hoods worn at the time. I did find a few examples, but I couldn't take them seriously as "fashionable" in their context.

I started the new hood with a simple goal- get the wings shaped correctly. I was willing to overlook the size and shape of the collar and the width and length of the liripipe because what I'd already come up with was really good, and felt right to me. I didn't want to try changing too many things and end up with a new hood that I hated. So I focused on the brim.


I began by tracing my black hood out on a piece of paper then redrawing the brim. I brought it upward very slightly (and I probably could have gone further upward, but I was being cautious.) Then I jutted the point way out. Around 2" further out than my previous brim. The imagery doesn't indicate that the top would have been that wide, so I eased the line back to my original brim depth at the top.


From that new pattern, I cut out the hood body, the gores, and the liripipe. The hood and gores were cut out at a 4-layer thickness, with the fold at the top. So what you see in the picture is actually two hoods folded in half. I followed my original pattern for the gores and their corresponding slits.


After getting the 4 gores sewn in and the liripipe sewn on to the outside layer, I just tacked all the seam allowances down to keep them flat and to keep the seams looking nice on the right sides. All that sewing was done by hand.


I knew that I needed stability in the brim if I wanted the wings to hold their shape and go where they needed to, so I dug through my stash and found an old piece a felted wool. This particular wool was once part of my very first kirtle, the one that bit the dust when I tried to refit it a few years back.


I married the two layers together, added on the reinforced panel, and used the sewing machine to sew all the way around. I left just the opening of the liripipe unsewn.


Then I clipped the corners and curves. I wanted the cleanest edge I could get, so I was pretty liberal with the clipping.


I turned the body of the hood right-side-out, then stab stitched the entire perimeter. I also finished the edges of the liripipe, which was still a flat piece at this point. The entire thing was still in that manta ray shape, with the back seam unsewn.


To finish the back, I traded the red silk for my heavy duty cotton thread. Since I had four layers of wool to go through, I didn't want to risk breaking the thread simply in the act of sewing. The gray thread is invisible from the outside. I used an overcast stitch down the entire length of the back (right to the tip of the liripipe). And with that the hood was complete.


The brim is thick, which will take some getting used to, but it's incredibly sturdy. It wants to stick out to the side, which is exactly what I want it to do.


I get a great bonnet shape with no effort when I unfold the brim. Since it was snowing when I stepped outside to take these photos, I was really happy with that particular performance.


The liripipe could probably use a bit of ironing.


Let's ignore the slightly crocked cap, shall we?

Overall, I'm incredibly satisfied with the way this hood turned out. I know there's still some adjustments I could have made, but I'm very happy with how much better this new shape meets the shape of hoods from the period between 1415 and 1440. I might look like I'm about to take flight, but I'm okay with that. And I'm really happy to finally cross this one off the list.